Homemade Smoke Test for Vacuum Leak: A Home Expert Guide
Welcome to this comprehensive guide on performing a homemade smoke test to detect and fix vacuum leaks in your home! As a home expert, I understand the importance of maintaining a properly sealed and efficient vacuum system. In this article, I will explain what a vacuum leak is, why it’s essential to address it, and guide you through a step-by-step procedure to create and conduct your own homemade smoke test.
Table of Contents
Understanding Vacuum Leaks
A vacuum leak occurs when air unintentionally enters a closed vacuum system. These leaks can lead to various issues, such as reduced suction power, increased energy consumption, or even damage to the motor of your vacuum cleaner. Identifying and resolving these leaks is crucial to ensure optimal performance and longevity of your vacuum system.
Why Choose a Homemade Smoke Test?
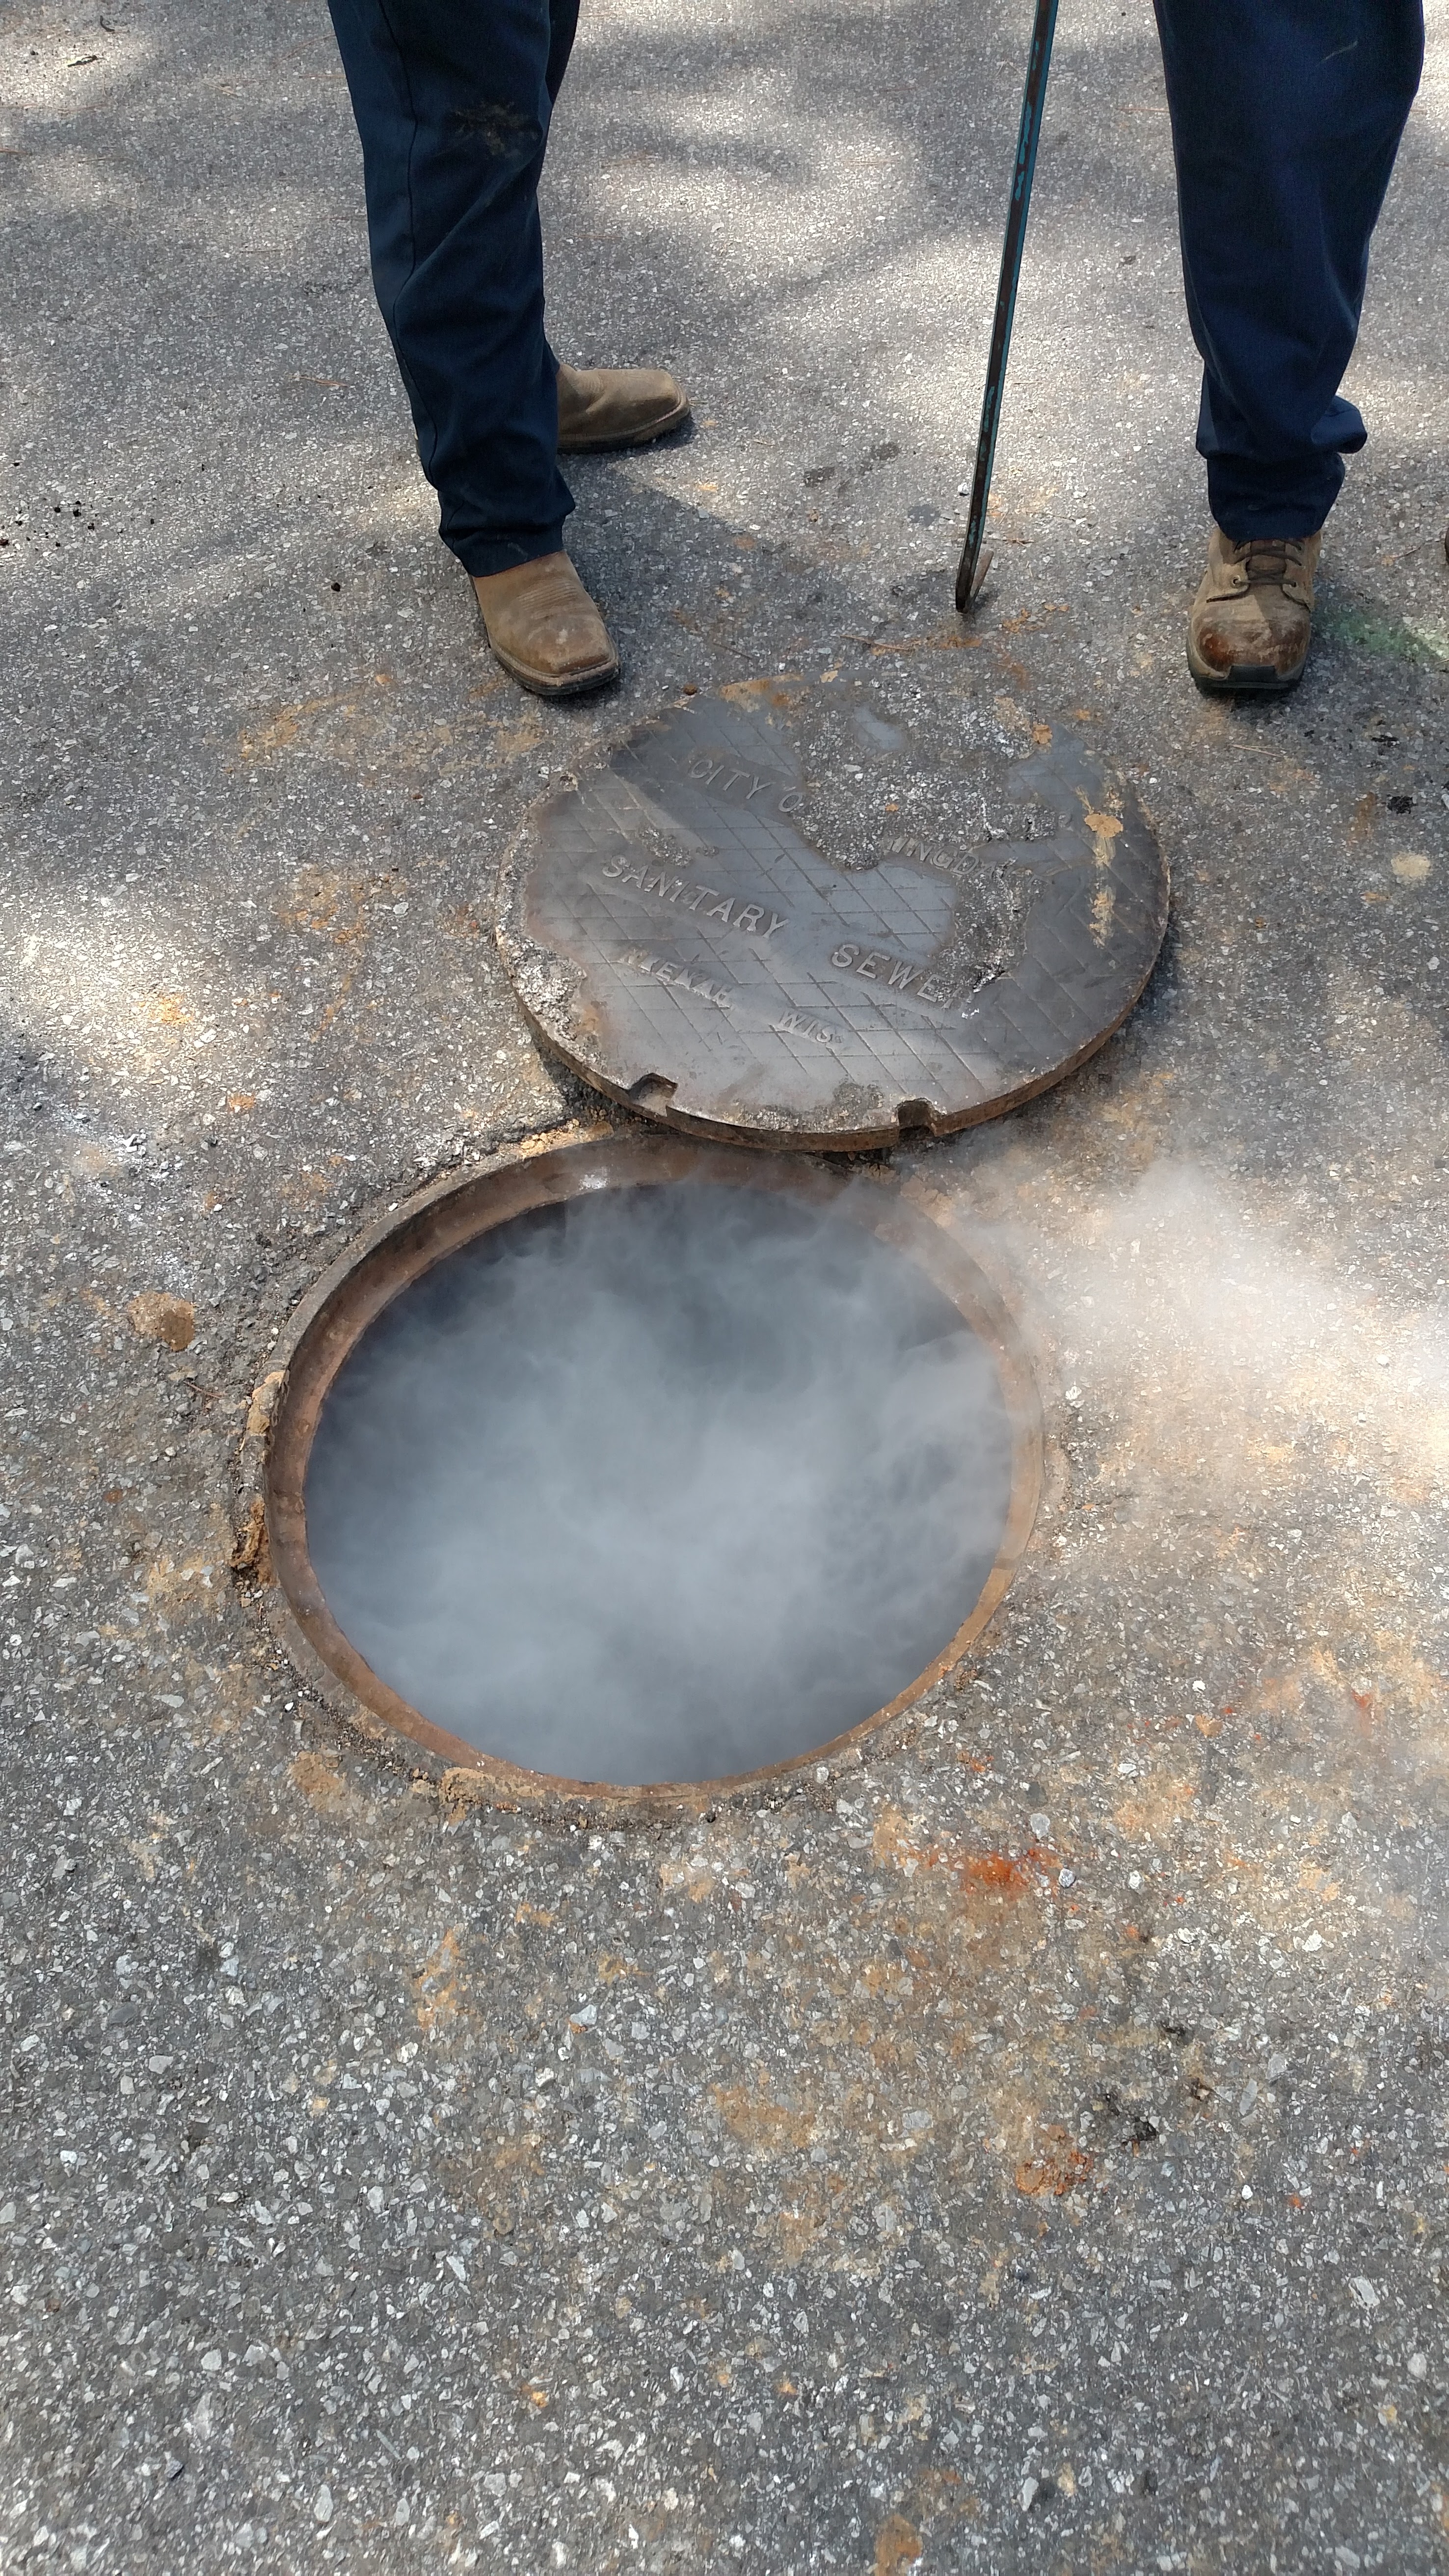
A smoke test is a widely recommended method to detect vacuum leaks. It involves introducing artificial smoke into the vacuum system, which then reveals any leaks through visible smoke output. While professional smoke testing devices are available, a homemade version can offer a cost-effective alternative for occasional household use.
The Homemade Smoke Test Procedure
- Prepare the materials: You will need a heat-resistant container with a lid, such as a glass jar, a flexible tube, like a rubber hose, and a smoke source, such as incense sticks or a smoke machine.
- Ensure safety precautions: Perform this test in a well-ventilated area to avoid inhaling the smoke. It’s recommended to wear gloves and keep a fire extinguisher nearby.
- Create the smoke source: Light the incense sticks or operate the smoke machine to generate smoke. Ensure a steady stream of smoke is being produced.
- Connect the tube: Attach one end of the tube to the smoke source and the other end to the vacuum cleaner’s exhaust port. Make sure the attachment is secure to prevent any leaks.
- Inspect for leaks: Carefully observe the vacuum cleaner and its connections. Look for any visible smoke escaping from joints, seals, or other susceptible areas. Remember to check common spots like hoses, valves, and the motor housing.
- Fix identified leaks: If you spot any leaks, take note of their exact locations. Depending on the severity of each leak, you can implement appropriate repairs or replacements. Common fixes include securing loose connections, replacing damaged seals, or repairing/replacing faulty components.
Remember, safety should always be your priority. If you are unsure about conducting the homemade smoke test, it’s best to seek professional assistance.
Conclusion
A homemade smoke test can be an excellent way for home experts like yourself to save money while detecting and resolving vacuum leaks. By following the step-by-step procedure outlined in this article, you can ensure your vacuum system operates efficiently and effectively.
Performing a regular homemade smoke test on your vacuum cleaner will not only extend its lifespan but also contribute to cleaner indoor air quality and a healthier living environment.
