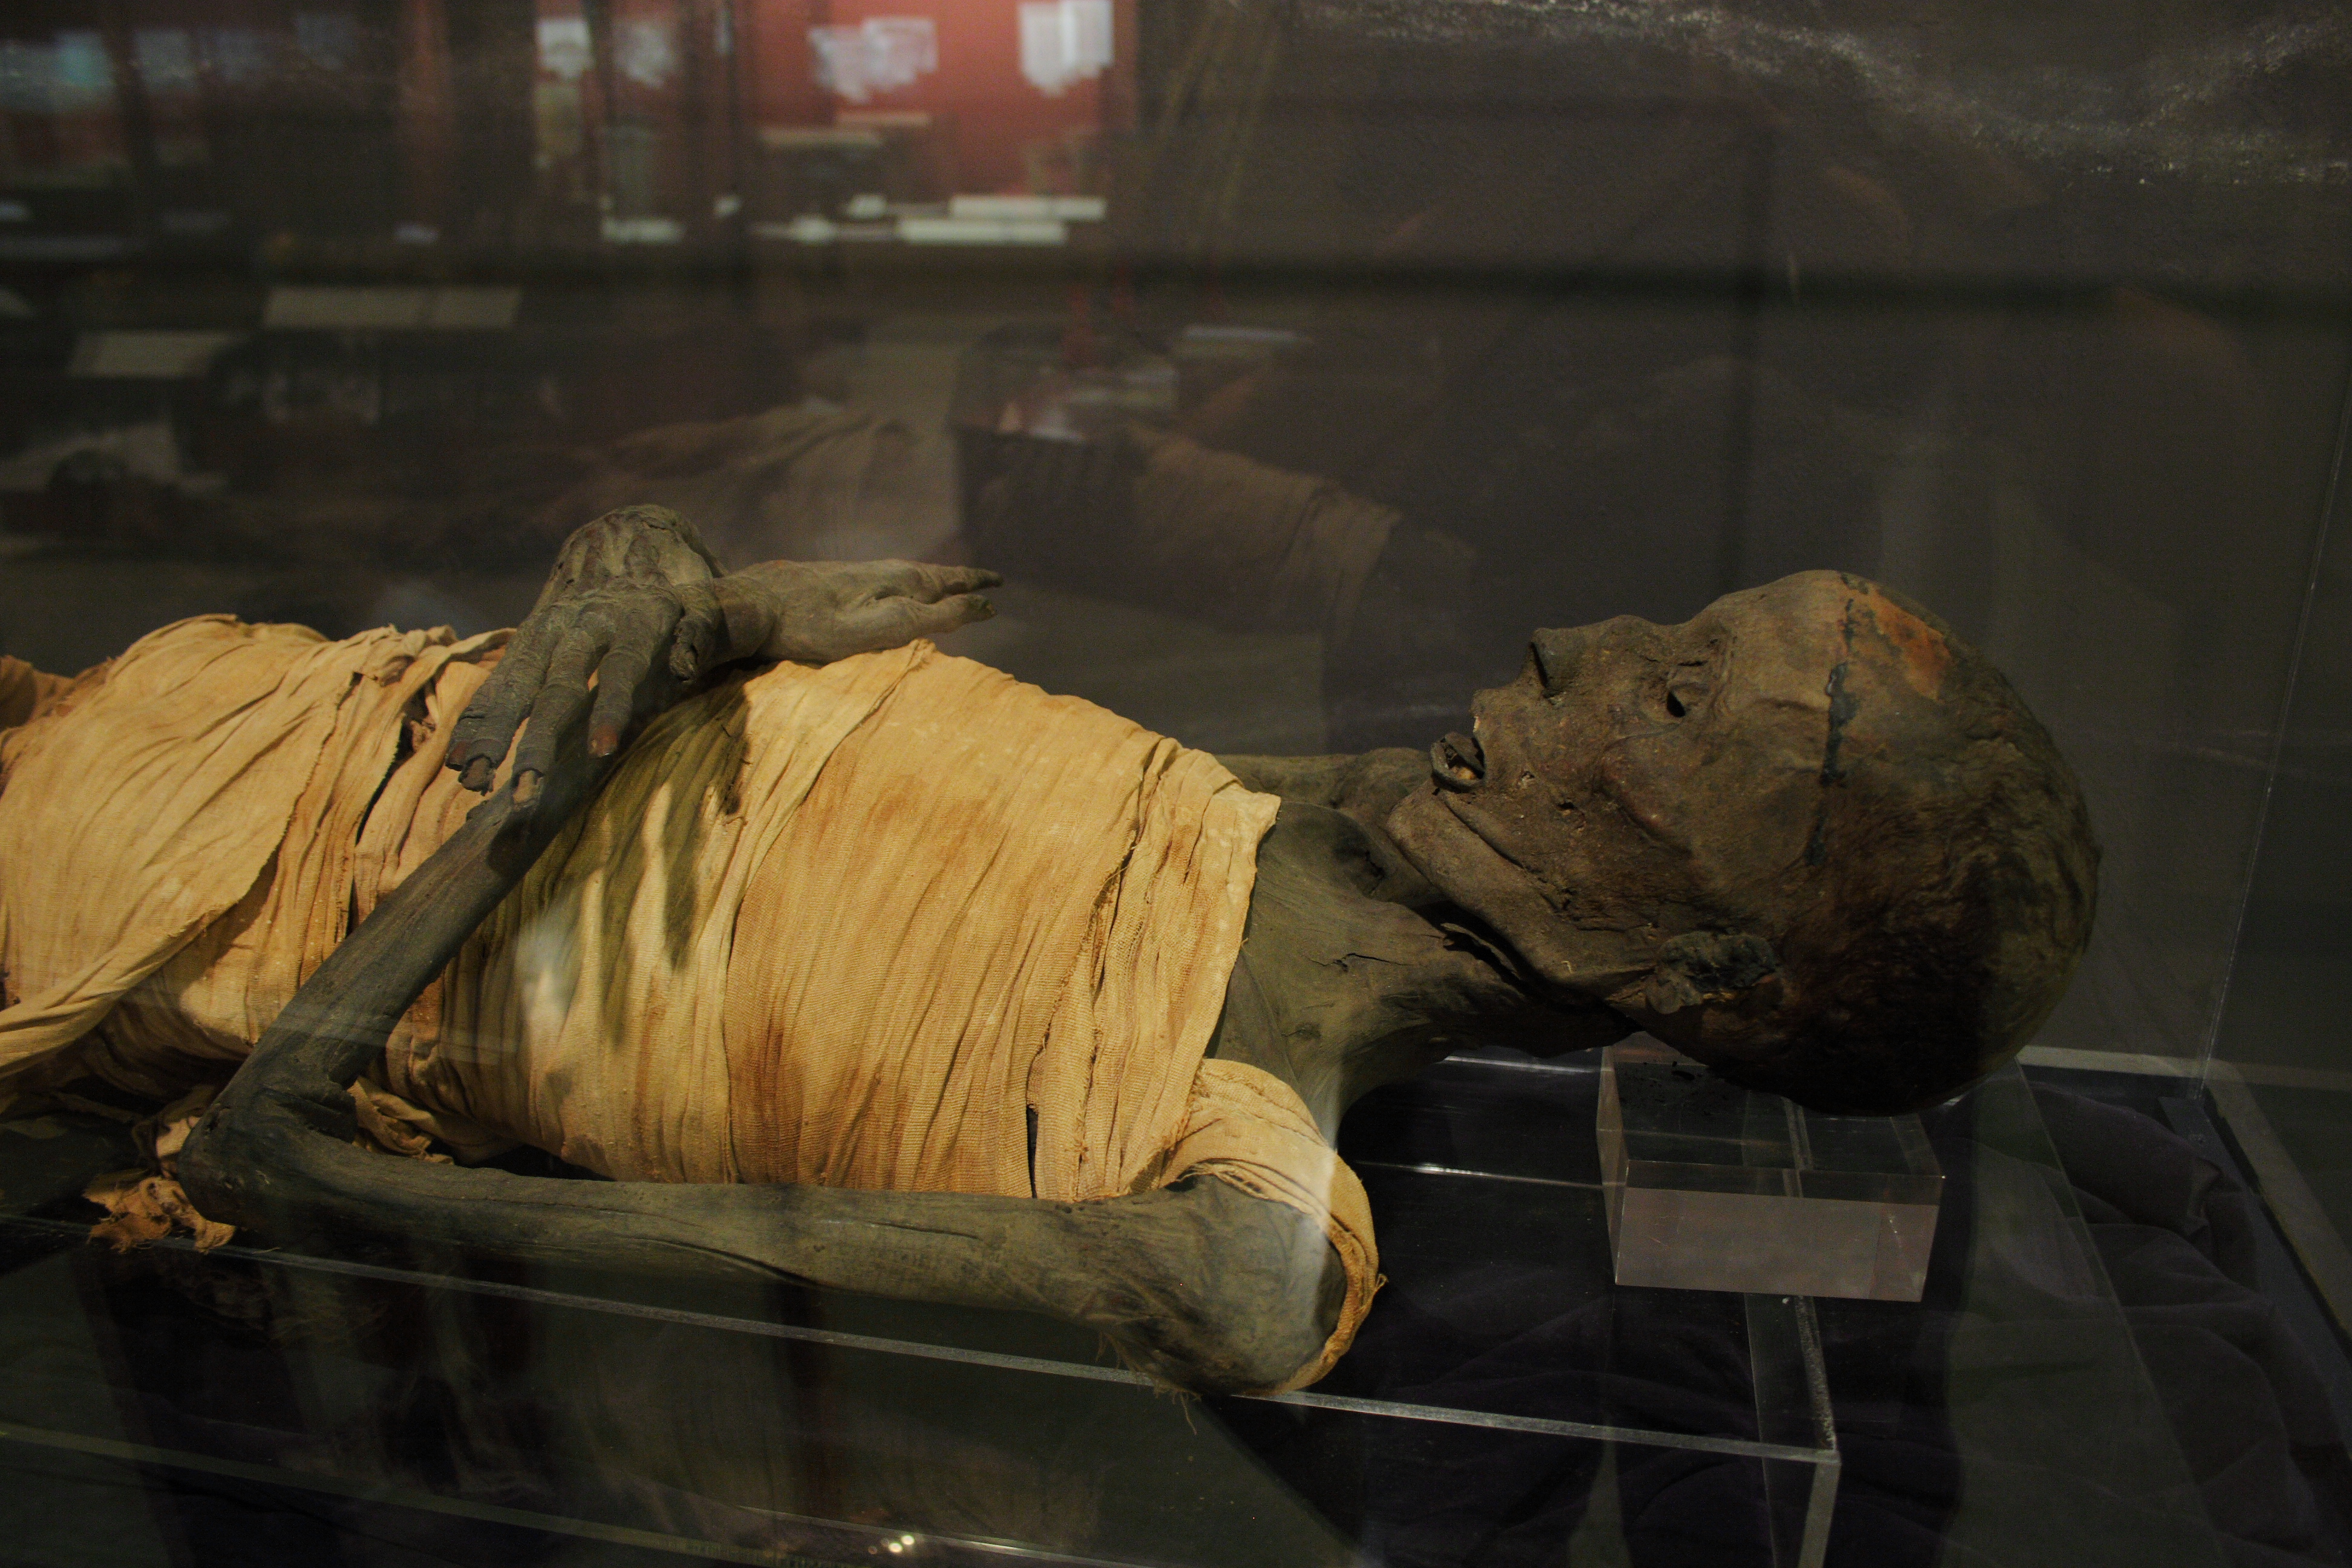
How to Make a Mummy Prop
Welcome to our step-by-step guide on how to make a mummy prop! Whether you’re planning a spooky Halloween party or just looking to add an eerie touch to your home decor, this mummy prop will surely impress your guests. Follow these instructions to create your very own mummy masterpiece.
The first step in making a mummy prop is to gather your materials. You will need:
- Gauze bandages
- Plastic skeleton or mannequin
- Scissors
- Glue
- Old newspapers or packing material
- Optional: Paint, fake blood, or any other decorations
Once you have your materials ready, start by wrapping the skeleton or mannequin with the gauze bandages. Be sure to leave some gaps and unevenness to create a more realistic mummy look. Secure the bandages with glue or small pins along the way.
To add bulk and fill empty spaces, stuff newspapers or packing material between the bandages and the skeleton. This will give your mummy prop a more realistic body shape.

Once you’re satisfied with the wrapping and stuffing, you can add extra touches such as painting the bandages with tea or coffee to give them an aged, dirty appearance. You can further enhance the mummy prop by splattering fake blood or adding other decorations to make it even spookier.
Finally, find the perfect spot to display your mummy prop. Whether it’s a dimly lit corner, near a haunted house entrance, or as a centerpiece at your Halloween party, make sure it’s somewhere that will give your guests a real scare!
Congratulations! You have successfully learned how to make a mummy prop. Get creative and customize your prop to fit your desired level of scariness. Remember to have fun during the process, and enjoy the spookiness your mummy prop brings to your home!
For more Halloween-themed DIY ideas and home decor inspiration, keep visiting our website regularly. Happy haunting!


